

Aeropress vs Aeropress Go
The Aeropress is an essential tool for coffee lovers who are always on the go. This tried and true travel companion now comes in an even smaller version, known as the Aeropress Go. If the Aeropress was already designed to travel with you, then what makes the Aeropress Go any different?
We’ve reviewed the features and functions of each of these portable coffee makers so that you can find out.
Both the Aeropress and Aeropress Go are amazing coffee makers to take on the road. If you’d like something a little more hardy that takes either ground coffee or Nespresso pods, Wacaco have you covered. To find out how, see our minipresso vs nanopresso review.
Overview
The main differences between the two products are how they are stored and transported and that they have different brewing capacities.

Aeropress Go
The AeroPress Go takes the regular AeroPress to the next level with an included cup, filter storage and collapsible stirrer. Make up to 3 cups of coffee with your favorite grind with filters that can be used up to 8 times each!
- 4 Cup Max
- No Fitted Cup
- No Filter Storage
- (L) 4.8″ (W) 4.5″ (H) 11.8″ (W) 0.4lbs
more
Shop Direct
Aeropress
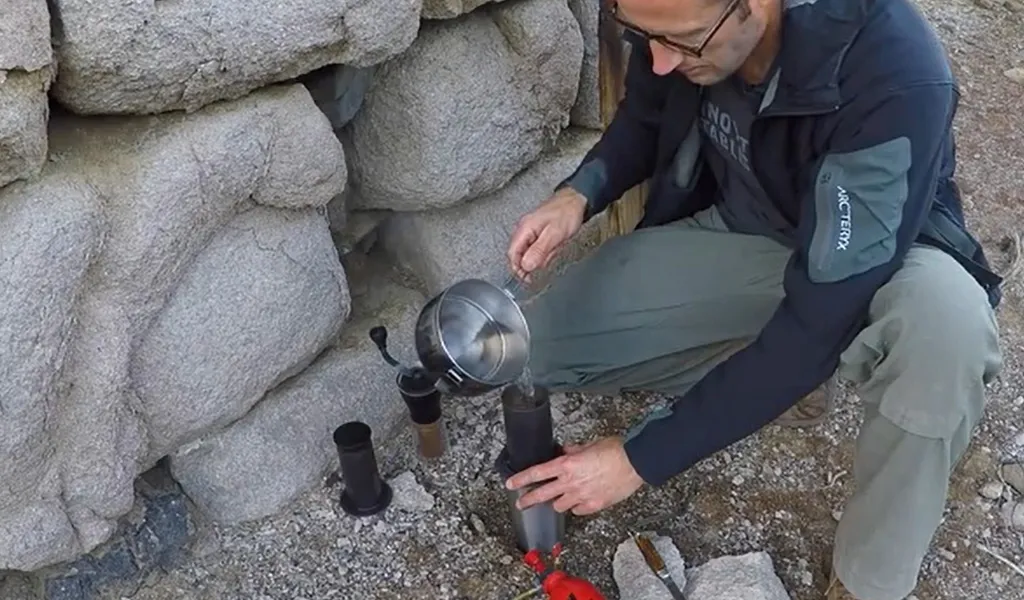
Perfectly suited to camping and the outdoors – the AeroPress is the portable coffee machine you can take anywhere. Make up to 4 cups of coffee with your favorite ground coffee with filters that can be used up to 8 times each!
- 8 Bar Pressure
- Nespresso Pods Only
- 2 Models Available (ns/gr)
- (L) 4.2″ (W) 4.2″ (H) 5.3″ (W) 1.0lbs
more
Shop DirectWhen you purchase the Aeropress Go it comes with a mug that simultaneously acts as the case where you store and transport all of the components it comes with.
This can be helpful because you do not have to bring an extra mug from home or buy one separately to keep with your kit.
The shape of the Aeropress Go is not compatible with many wider cups, as the original model is. So if you do want to use a different vessel to brew into then you have to make sure it is compatible before you pack everything up.
The Aeropress, on the other hand, does not come with this mug and so you must either purchase the Aeropress with Tote Bag or use a different bag to transport the product and whatever mug you choose.
As for the brewing capacity, you will lose 2 oz. if you use the Aeropress Pro, changing the capacity from 10 to 8 oz.
This small difference can be important if you are looking to brew for more than just yourself because you will end up having to either brew multiple batches or make extra strong coffee only to then dilute it all after the fact.
Feature Comparison
Aeropress
- Pieces included: Plunger, chamber, filter cap, stirrer, filter holder, scoop, 350 filters, and a funnel
- Does not come with a mug but there is a version that comes with a tote bag
- To make it travel-friendly get the Aeropress tote bag or use a bag of your choosing
- Brewing capacity 10 oz. coffee or 1 to 3 espresso-style shots
- Dimensions of chamber and plunger fit together: 5.4” x 4.2” x 3.8” (14cm x 11cm x 10cm)
- Weight is 8.0 oz (not counting 350 filters, filter holder, and funnel)
- The weight (including the AeroPress, the filter cap, the filter holder, the pack of 350 filters, the scoop, the stirrer, and the funnel) is 13 ounces
- The weight of the tote bag by itself is 0.5 ounces
- Rounded scoop capacity is 14 g
- Holds all 350 filters
- Ground Coffee Only
- 350 Microfilters
- No Cup Included
- Regular Stirrer
- 1 Year Warranty
- Makes up to 4 Cups
- No Filter Storage
- No Lid Included
- Travel Friendly
- 4.8' D x 4.5' W x 11.8' H
- We found the AeroPress fun to use and master.
- You can use each of the 350 filters up to 8 times each.
- The AeroPress makes for the perfect traveling companion. Cons:
- We found there is a learning curve to using the AeroPress.
- You must be precise in your measurements for good results.
- The dark smoky gray color can make it hard to see the water you add.
Check Current Price →
Aeropress Go
- Comes with 15 oz. mug with lid
- The Aeropress itself and its accessories (scoop, filter holder, stirrer) all fit inside the mug making it compact and travel-friendly.
- Pieces included: Plunger, chamber, filter cap, stirrer, filter holder, scoop, 350 filters, lid, and mug
- Does not include funnel
- Brewing capacity 8 oz. coffee or 1 to 3 espresso-style shots
- Dimensions of chamber and plunger fit together: 4.6” x 3.6” x 3.6” (12cm x 9cm x 9cm)
- Dimensions of mug with the lid on top: 5.3” x 3.9” x 3.9” (14cm x 10cm x 10cm)
- Weight is 11.5 oz. (includes all parts except the 350 paper filters)
- Rounded scoop capacity is 14 g
- Holds 20 filters
- Ground Coffee Only
- 350 Microfilters
- Cup Included
- Collapsible Stirrer
- 1 Year Warranty
- Makes up to 3 Cups
- Filter Storage
- Lid Included
- Travel Friendly
- 4.2' D x 4.2' W x 5.3' H
- We found the AeroPress fun to use and master.
- You can get close to an espresso taste with crema.
- Extraction and taste is different to a French Press. Cons:
- We found there are multiple parts to be cleaned after use.
- The setup is more complicated than a pour over system.
- It will take you upwards of 15min to make a coffee.
Check Current Price →
Ease of Use
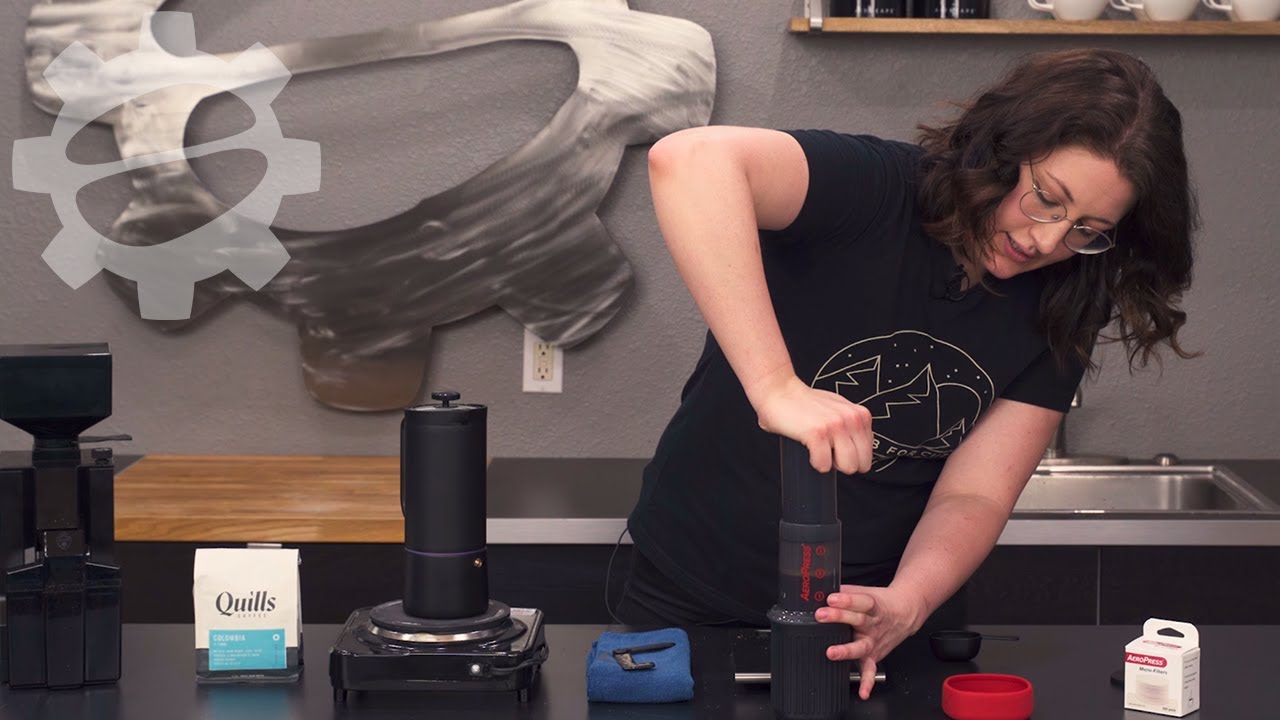
The Aeropress and Aeropress Go are so simple to use. The entire brewing process takes mere minutes. While there are many brewing methods, here are the most popular ways with some of my added suggestions.
Aeropress
To brew your coffee follow these steps:
Step 1: Remove the plunger from its chamber.
Step 2: Put the coffee filter on top of the strainer then twist the strainer onto the bottom of the Aeropress chamber.
Step 3: Place Aeropress on top of your mug.
Step 4: Measure a heaping spoonful (about 16 g) of your grounds with the provided measuring spoon.
From this step on there are many different ways you can brew your coffee. Aeropress’s website says to fill the water up to Level 1 on the chamber. It says to then dilute it after you’ve finished brewing if you want a larger, less intense amount of coffee.
I prefer to fill the chamber almost all the way to the top with water after putting the coffee in, because I know I’ll want mine closer to an Americano-style than espresso-style.
You can play around with this step until you find your favorite way. It is hard to mess up, so don’t worry too much about exact measurements when you are first learning about your preferences.
Step 5: After you have heated water to a boil and let it cool for a few minutes to about 175 degrees F (79 degrees C), pour it over the grounds.
Step 6: Agitate the mixture with the provided mixer for about ten seconds.
Step 7: Place the plunger securely on top.
Now if you want to try it my way then set a timer for about a minute and let the coffee sit for that amount of time before pressing the coffee.
If you are doing it the way that Aeropress recommends then you can immediately begin to gently press down until all of the coffee has been pushed out.
Step 8: To disassemble simply remove the Aeropress off of the cup, remove the cap, and then empty out the coffee grounds and filter before rinsing the seal with water.
Aeropress Go
The Aeropress Go functions exactly the same way and is just as easy. The only difference is that it comes with the perfectly fitted cup already and that it has 2 oz. less water capacity. This can affect the way you choose to brew your coffee, as in you may want to dilute it further afterward.
You can also use the very popular inversion method with both models.
This method’s purpose is to prevent the coffee from dripping through the filter too quickly. You instead let the coffee steep with the plunger and chamber connected but upside down. After letting it steep for your chosen amount of time you place the mug underneath, being careful not to spill, and flip it.
Then carry out the remaining steps of the process as you normally would.
Brew Quality
Both machines use pressure to brew quality coffee within a matter of minutes. This system of brewing relies on the plunger, chamber, and filter cap to create the pressure needed to press the coffee through the filter. The pressure created extracts more of the flavors from the beans than normal drip coffee which is simply immersed in water.
The resulting product is a delicious cup of coffee with low bitterness and acidity on the palate. It won’t taste exactly like espresso or like French-pressed coffee because the Aeropress uses a paper filter. This means that the oils largely get filtered out.
If you practice, there are certain methods you can use to get the end product to taste pretty close to an actual espresso. There are even annual World AeroPress Championship competitions for people who take their barista skills seriously.
Since the end result is so customizable, it is easy to make your coffee exactly the way you want it, even if you aren’t a world champion!
Cleaning & Maintenance
Both the Aeropress and Aeropress Go can be washed on the top shelf of your dishwasher, though rinsing them out after each use will suffice most of the time.
If pieces start to get sticky you can also wash them with vinegar.
Every now and then, depending on your frequency of use, it is good to do a hand wash. To do so, remove the seal from the end of the plunger and wash everything off with both soap and hot water. Then scrub with something only mildly abrasive, like a paper towel. This can prevent the coffee oils from accumulating over time.
It is important to note that you can preserve the life of your seal by minimizing its compression time.
When the seal is inside the chamber it is under compression, which, over time, can make it get smaller. Eject the used coffee immediately after every use and store the seal either pushed all the way through or removed from the chamber to prevent it from shrinking.
If taken care of properly the seal should last at least three years.
When the seal eventually wears out you can easily purchase a new Aeropress seal that is compatible with both models.
Overall Value
The two products both provide amazing value, especially for how inexpensive they are. While there is so much to love about both of them, there are a few issues with each.
Many of the accessories that the Aeropress comes with aren’t completely necessary. The funnel, for example, is not, and the scoop is not the most accurate way to measure coffee if you are serious about it.
Some of the Aeropress Go’s accessories, on the other hand, are pretty useful. The travel mug allows you to carry less, saving you space. The filter holder is helpful as well. You won’t have to pack the filters separately and then accidentally forget them.
A possible downside to the Aerospace Go is the potential lack of compatibility with mugs you may already have at home since the product is shaped differently than its predecessor. This could be frustrating for people primarily using it to make coffee at home, who don’t want to drink out of a non-plastic, albeit BPA free, mug.
Aside from the accessories and space-saving factors, the brewing capacity is the other thing that really sets the two apart.
The Aeropress brews up to 10 oz of coffee and the Aeropress Go brews up to 8 oz. Brewing coffee for more than one person was already somewhat of an issue in the Aeropress because you have to make it extra strong, then dilute it after the fact just to have enough to share. This issue is amplified with only enough volume for 8 oz.
If you are going to be using this primarily on the road, you might not mind this. But if you were planning on using it at home the majority of the time, then the Aerospace Go might be too much of a hassle.
Another difference is that while the Aeropress Go comes with the same amount of paper filters, the filter paper holder is smaller and only stores 20 at a time. This compact paper filter holder has a lid and is very convenient for traveling when space is tight, as it would be if you were going backpacking or traveling by airplane.
Final Thoughts
The Aeropress is still a solid choice for brewing at home and while traveling. If you are going to be using it to make coffee for more than just yourself then this is probably the better choice since you have that extra 2 oz of brewing capacity.
While the amount of space you save is minimal, the Aeropress Go is still slightly smaller and slightly lighter. If you are a backpacker, then the Aeropress Go is the better choice.
FEATURED PRODUCTS
AeroPress Original
- 4 Cup Max
- No Fitted Cup
- No Filter Storage
- (L) 4.8″ (W) 4.5″ (H) 11.8″ (W) 0.4lbs
AeroPress Go
- 3 Cup Max
- Fitted Cup
- Filter Storage
- (L) 4.2″ (W) 4.2″ (H) 5.3″ (W) 1.0lbs


